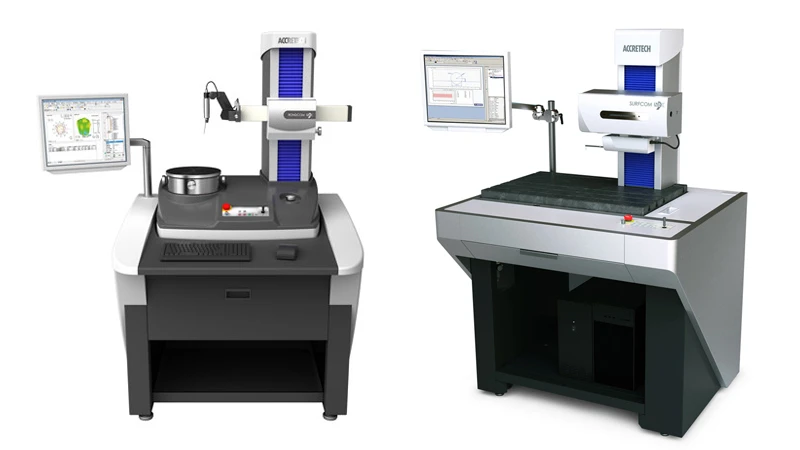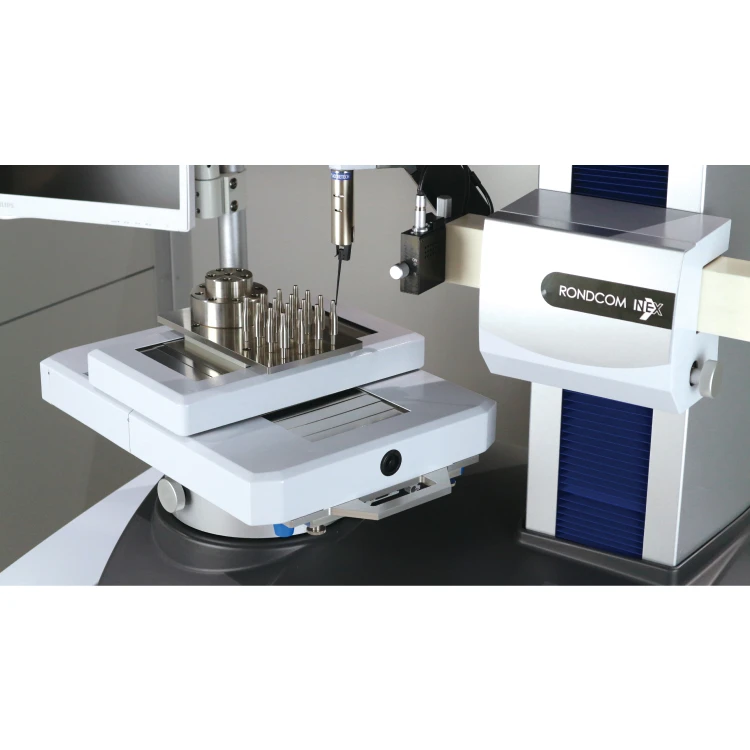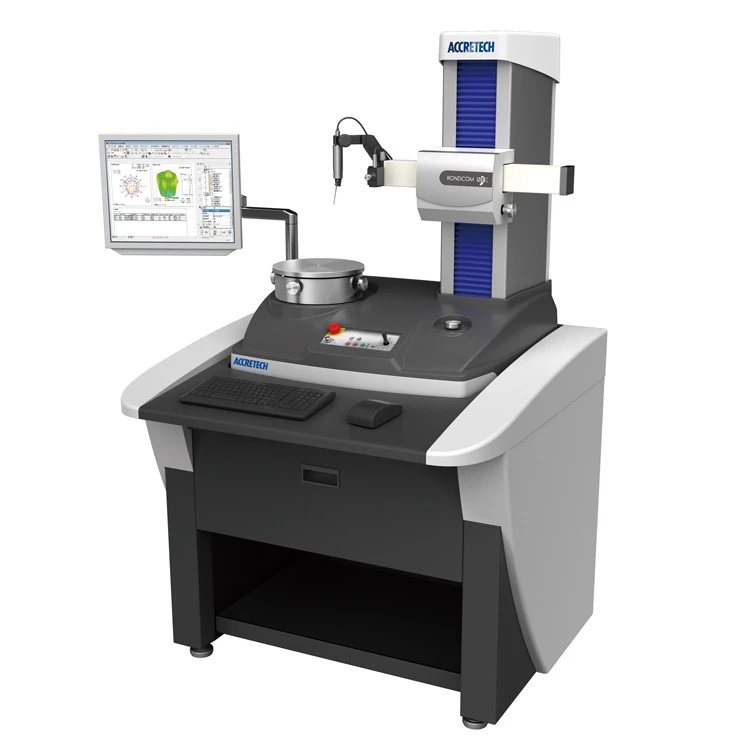
RONDCOM NEX 100 DX2/SD2
Standard model of roundness and cylindrical profile measuring instruments
Variation
Features
Standard model boasting class-leading high accuracy
Rotation accuracy (0.02 + 3.2 H/10000) μm
Equipped with full new function and meets a need of machined parts high accuracy measurement.
It is a top class high accuracy roundness cylindrical profi le m easuring instrument.
Opposed diameter measurement function enabling measurement of inner and outer diameters with high repeatability (patented)
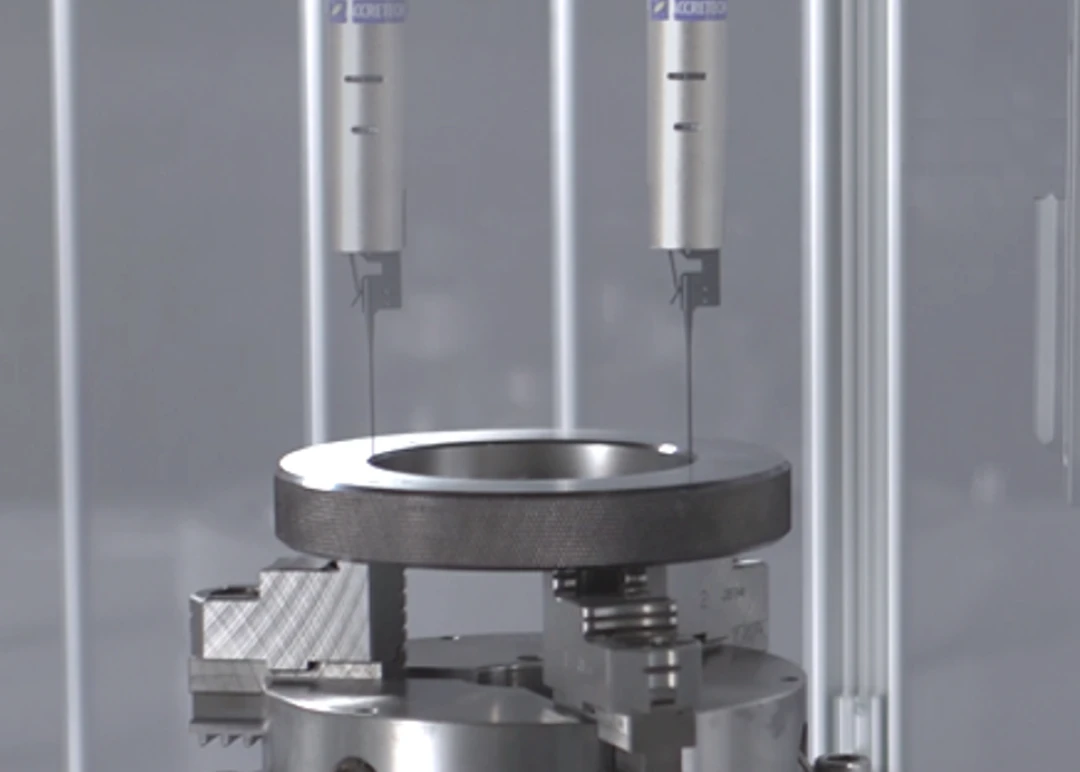
In opposing diameter measurement funtion, which is a standard feature of RONDCOM NEX series, a workpiece is measured at the 0 degree and opposing 180 degree positions of the table, respectively. The evaluation algorithm implemented as thestandard to correct the errors by temperature change and generatrix line shifting, performs highly-precise diameter measurement.
R-axis following measurement function, that enables taper angle measurement even if it excess the range of the detector
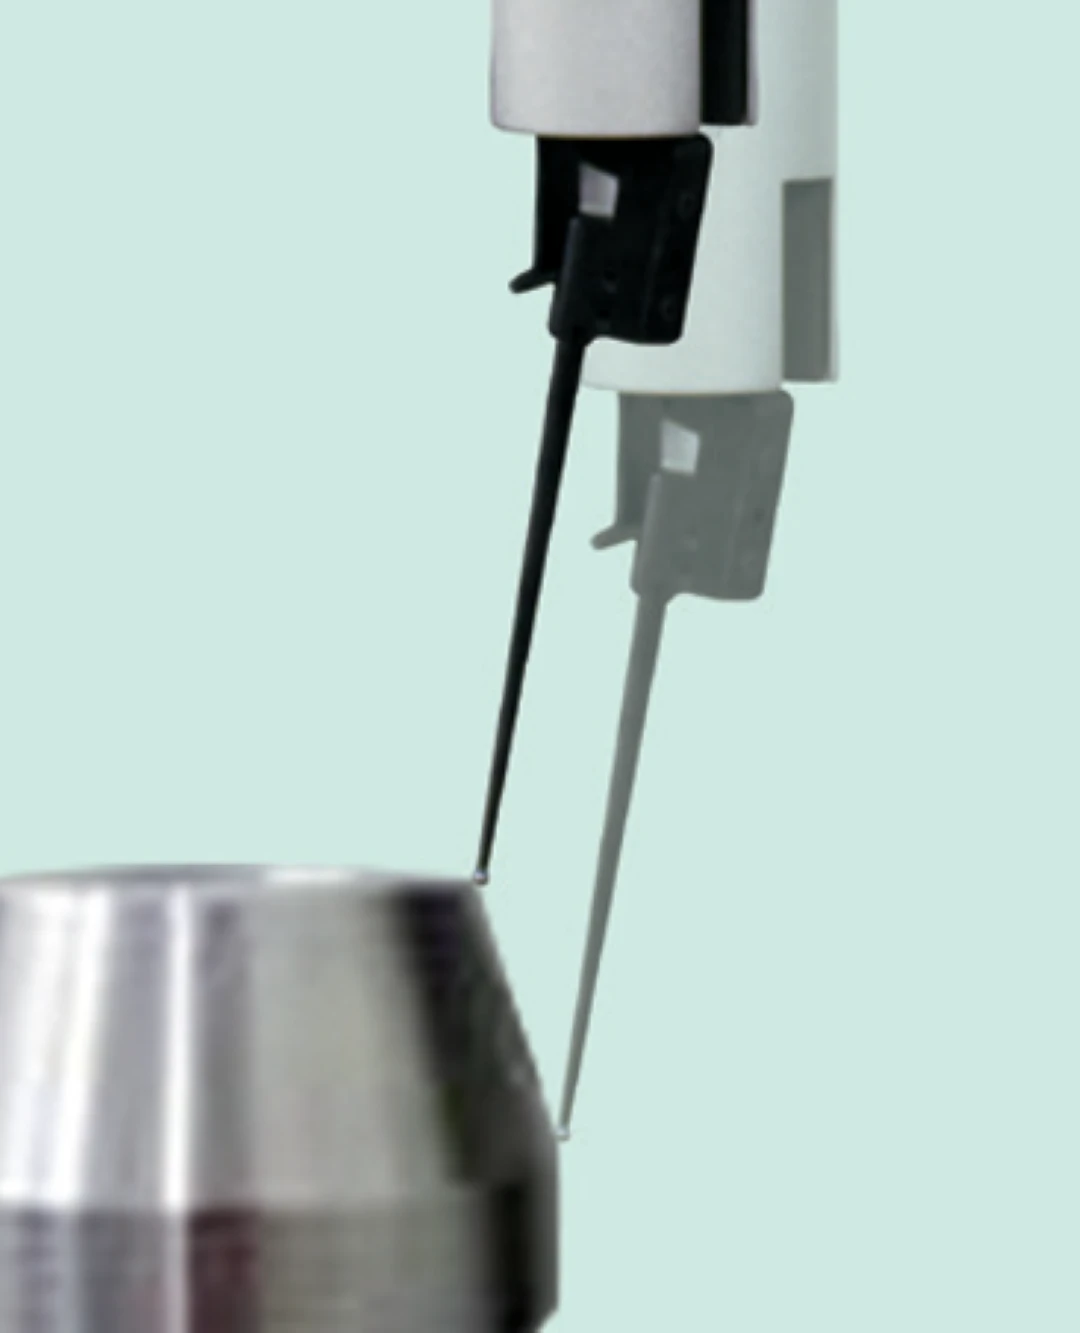
It is a function to measure linearly while the R-axis follows the shape of the workpiece to be measured. Taper angle* can be measured even if it excess the range of the detector
*Taper angle may have an impact on the measurement accuracy. Contact us for details.
Offset detector holder enabling measurement of thick workpieces
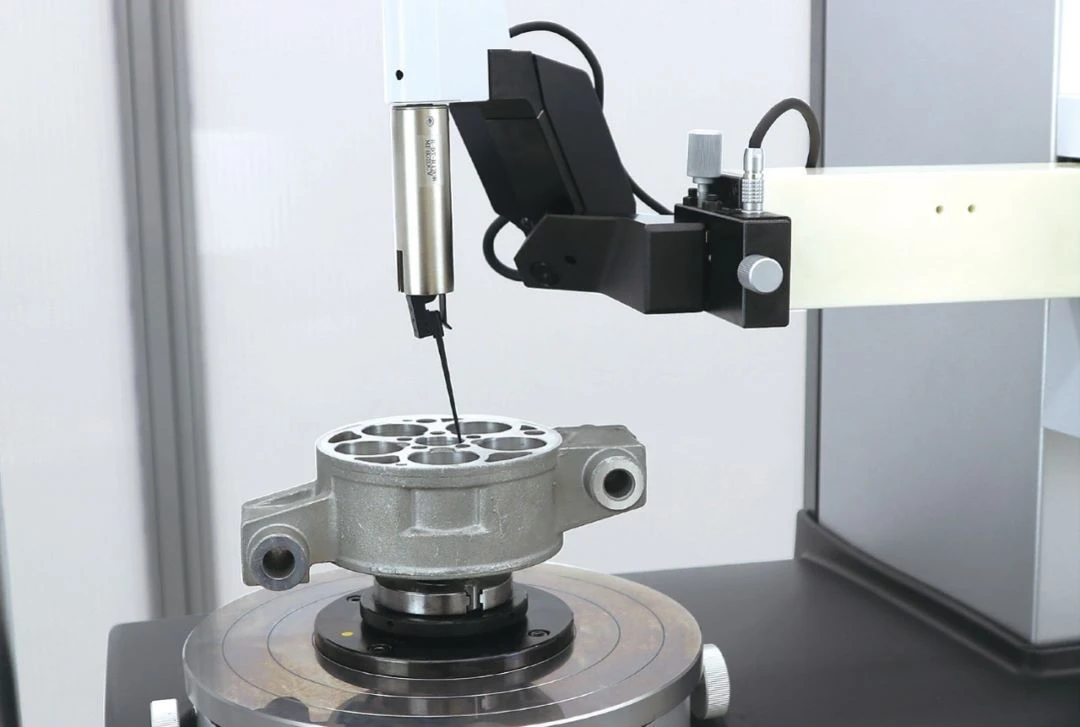
Having a unique mechanism that prevents interference between the R-axis arm and workpiece by offsetting the stylus 80 mm below from the center of the R-axis. Inner diameter of workpieces with flange or thick workpieces, connecting rods, or die cast products can be measured without interference.
Standard accessory Manual type (patented)
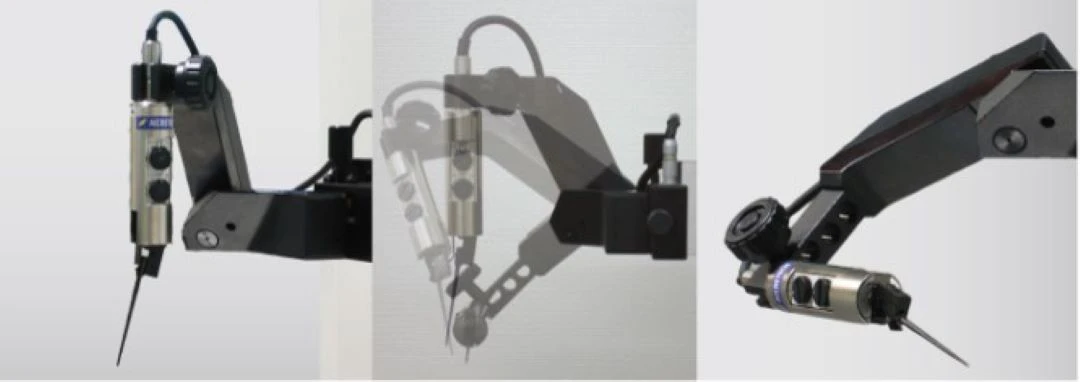
measurement can be switched over simply by
bringing down the holder
If this offset-type detector holder is brought down, the detector naturally changes its orientation by 90 degrees, thus not requiringmanual rotation of the detector.
DX type designed for comfortable operation and small footprint
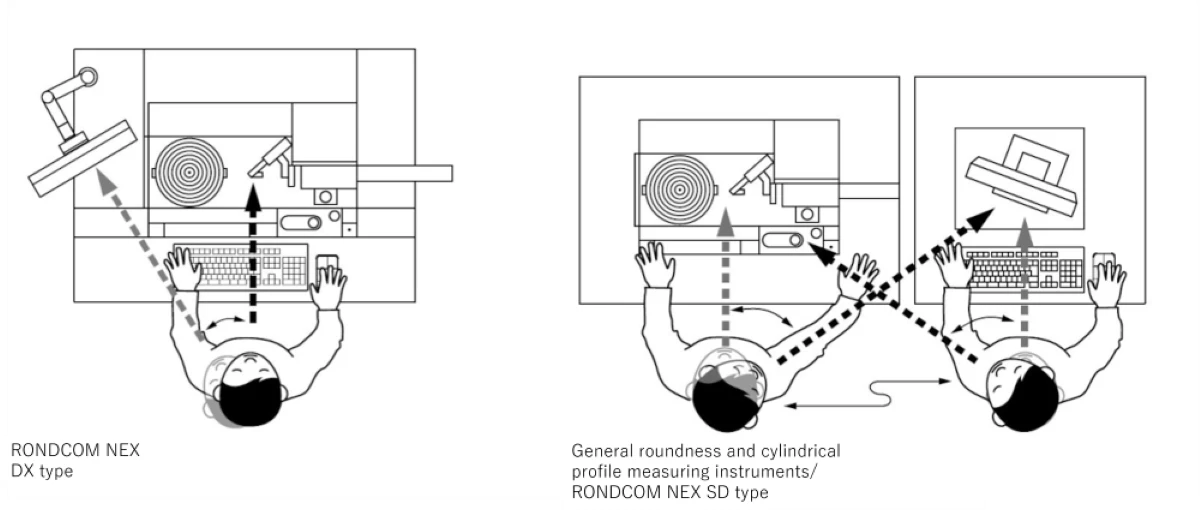
The measurement section of the DX models of RONCOM NEX series is integrated with anti-vibration table and data processing section. This saves the footprint and enables the operator to perform all operations comfortably in front of the measurement section without the need to
move between the sections, such as standing in front of the measurement section to adjust the measuring position while looking at the workpiece and in front of the data processing section to operate the software while watching the screen.


