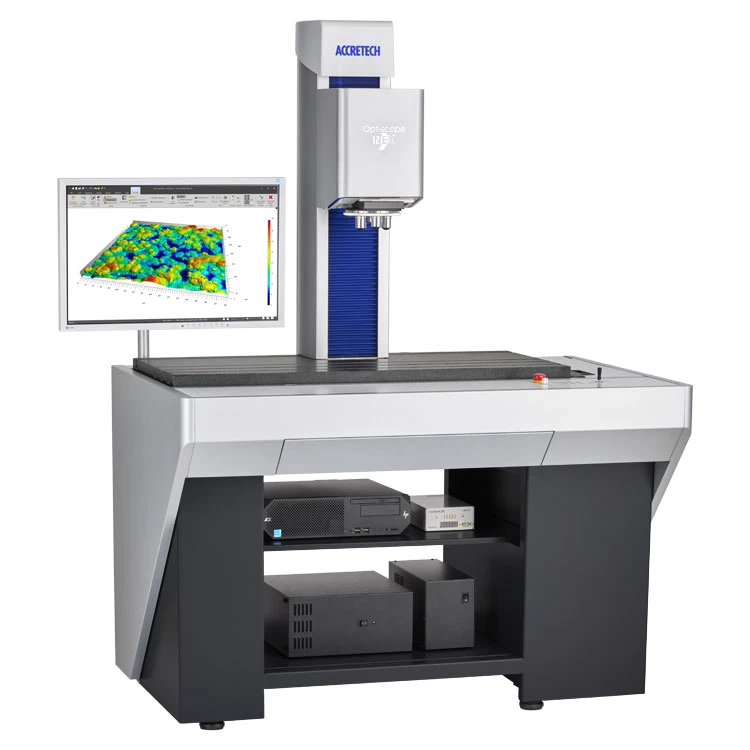
Opt-scope
For measurement of nano / sub-nano level surface roughness.
3D white light interferometer microscope
Feature
3D white light interference microscope Opt-scope of high resolution, wide range and high speed
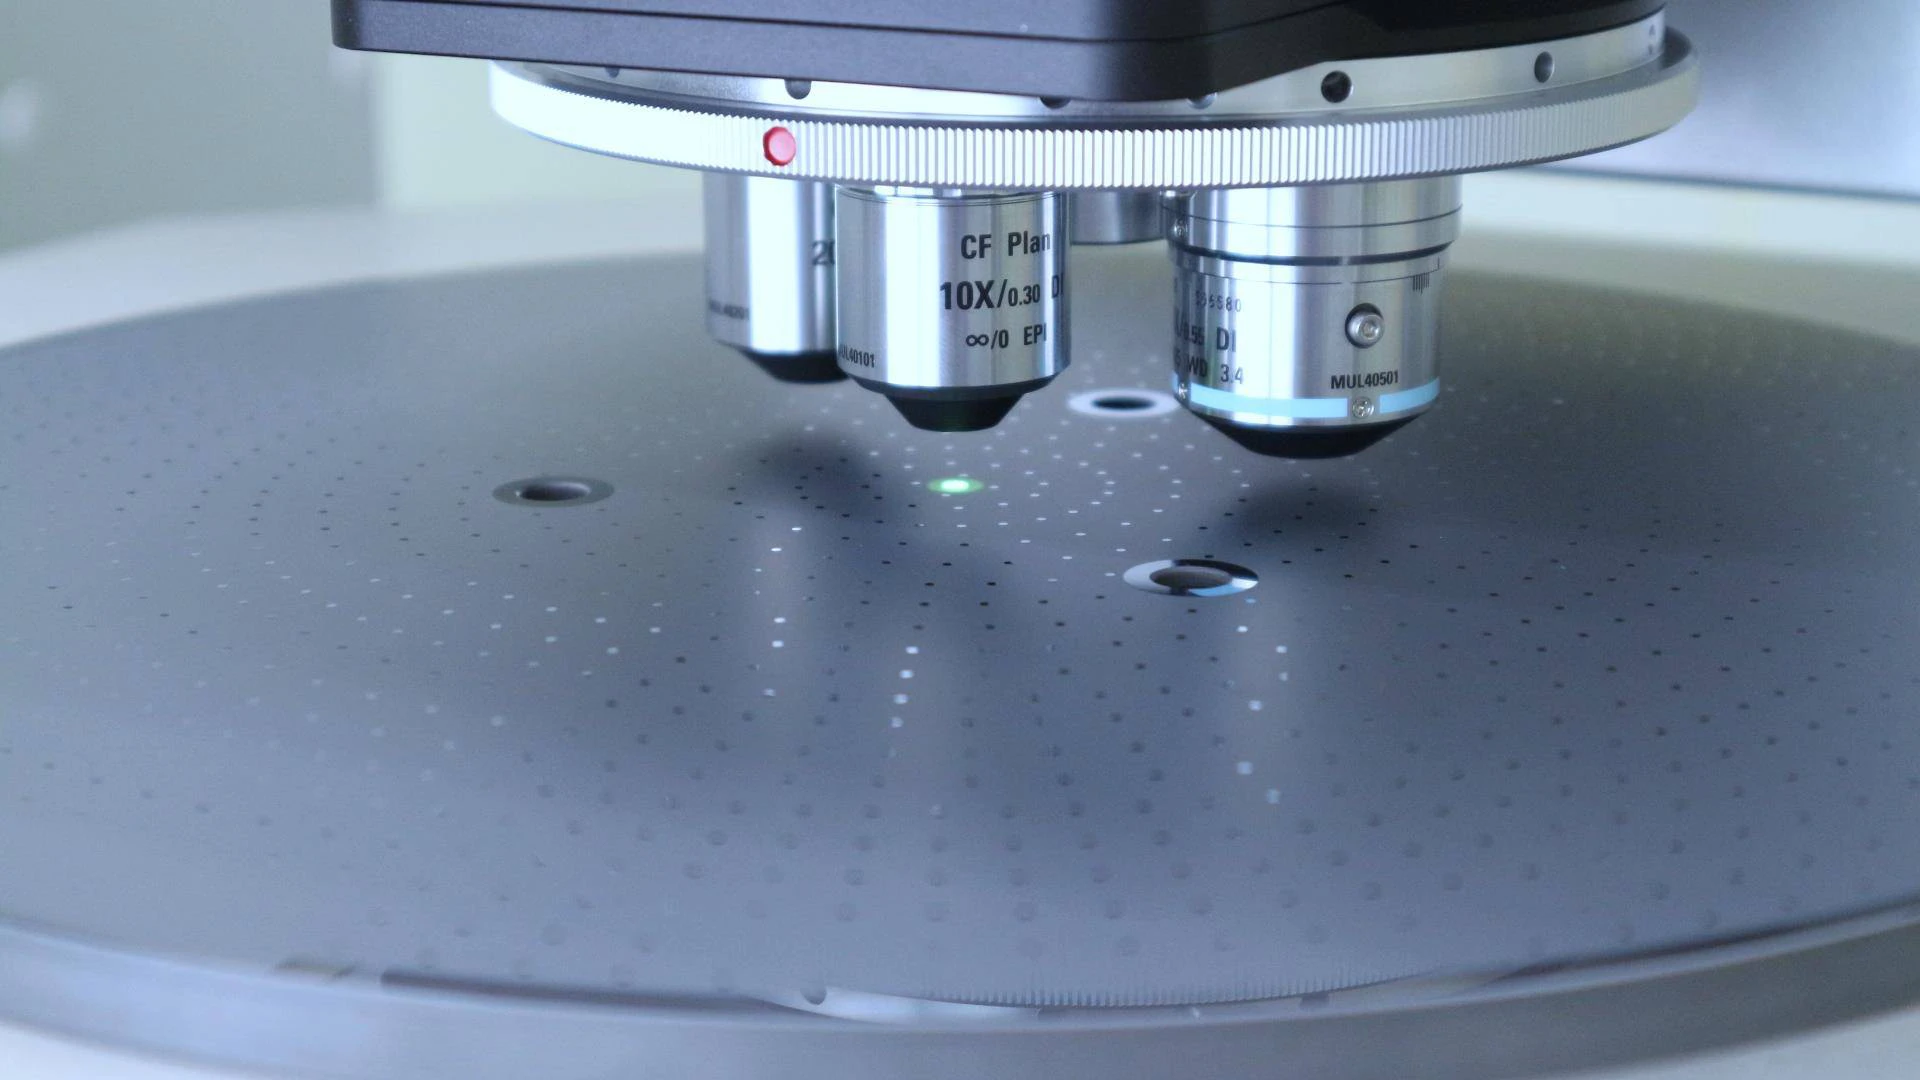
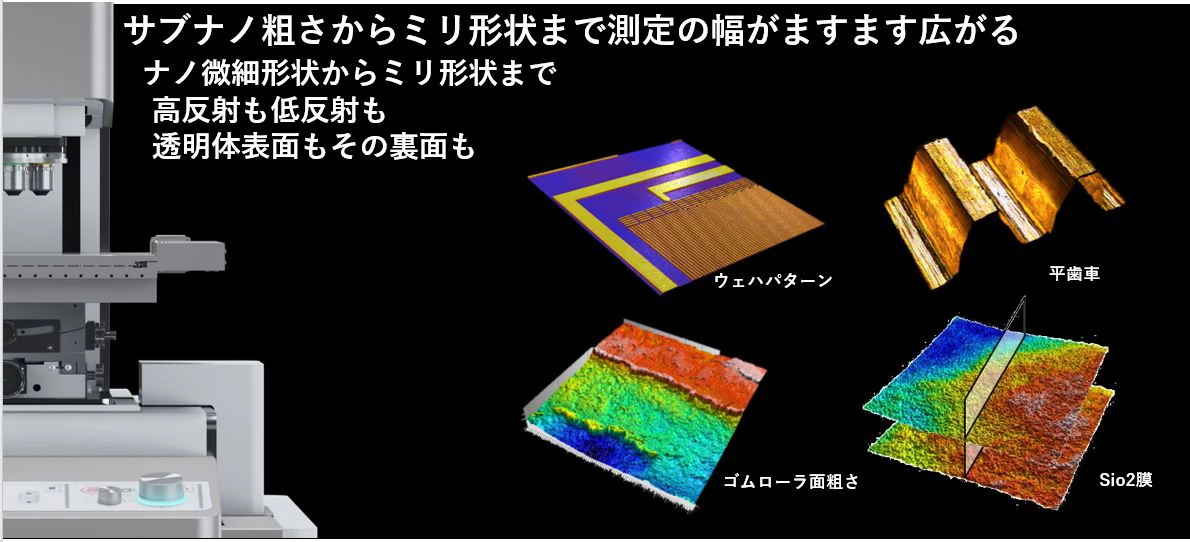
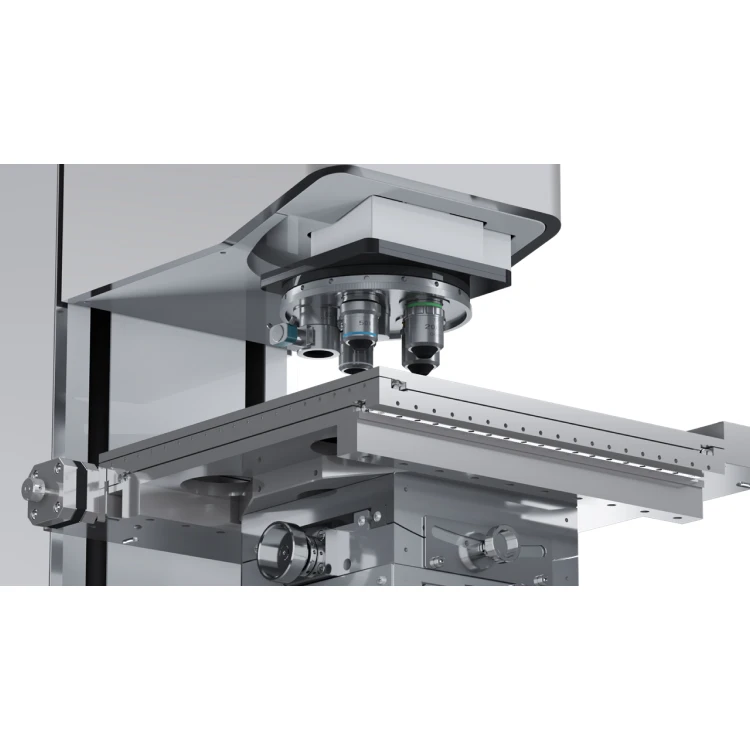
Opt-scope is a 3D white light interference microscope with a high vertical resolution of 0.01nm irrespective of the lens magnification. Because of its ability to measure nano surface profile with a low magnification lens, it can perform high-speed, wide-range measurement in one shot. Sub-nano surface roughness, transparent objects and high aspect ratio structures that cannot be measured by laser microscope or other non-contact measuring instruments can be measured by Opt-scope at a high repeatability.
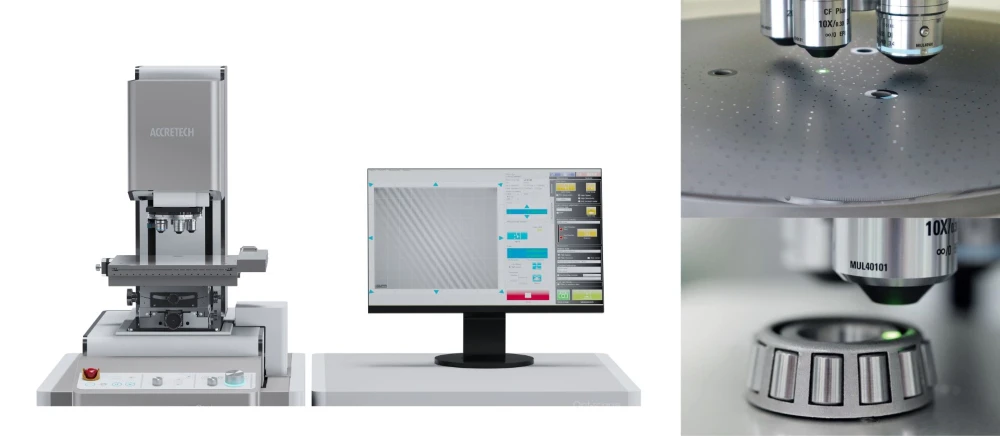
The new model of Opt-scope offers an even higher level of flexibility.
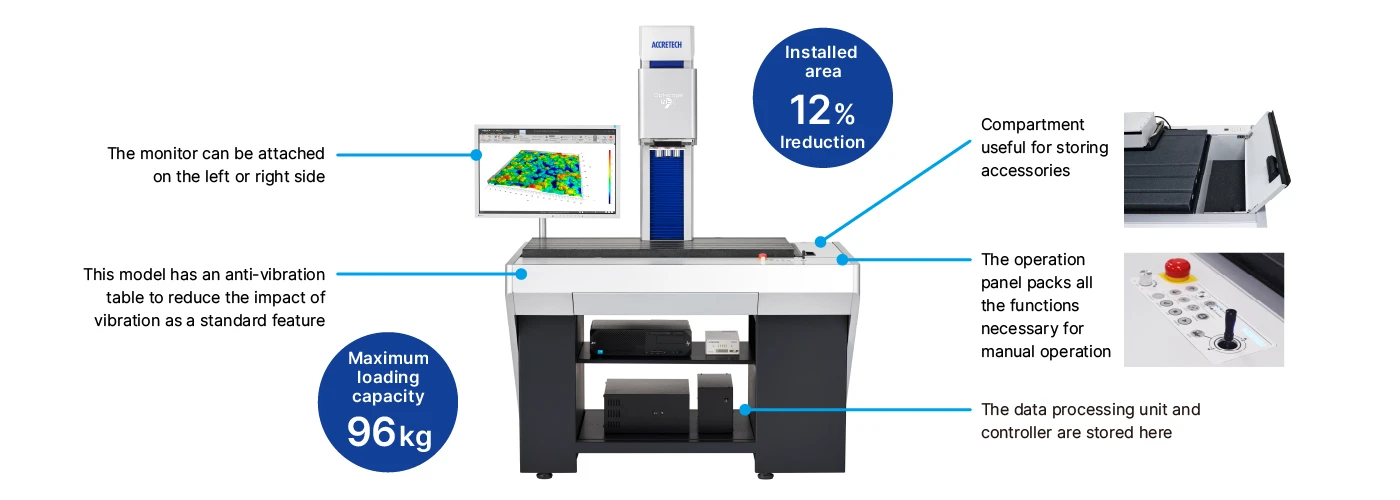
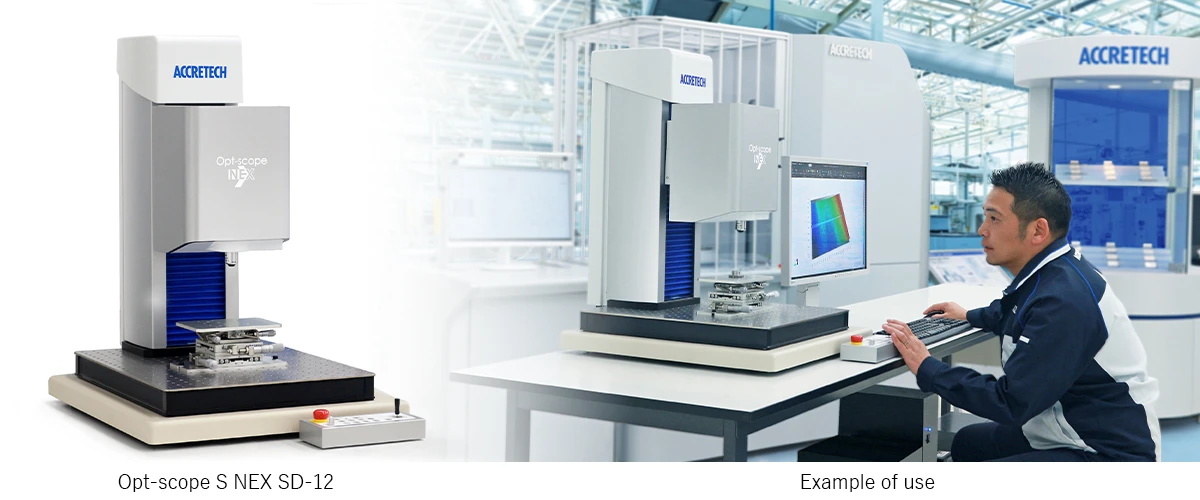
The NEX platform model, Opt-scope NEX, can flexibly handle all kinds of workpiece. Two new types have been added to the product lineup: all-in-one floor installation DX type for stress-free operation and desktop SD type.
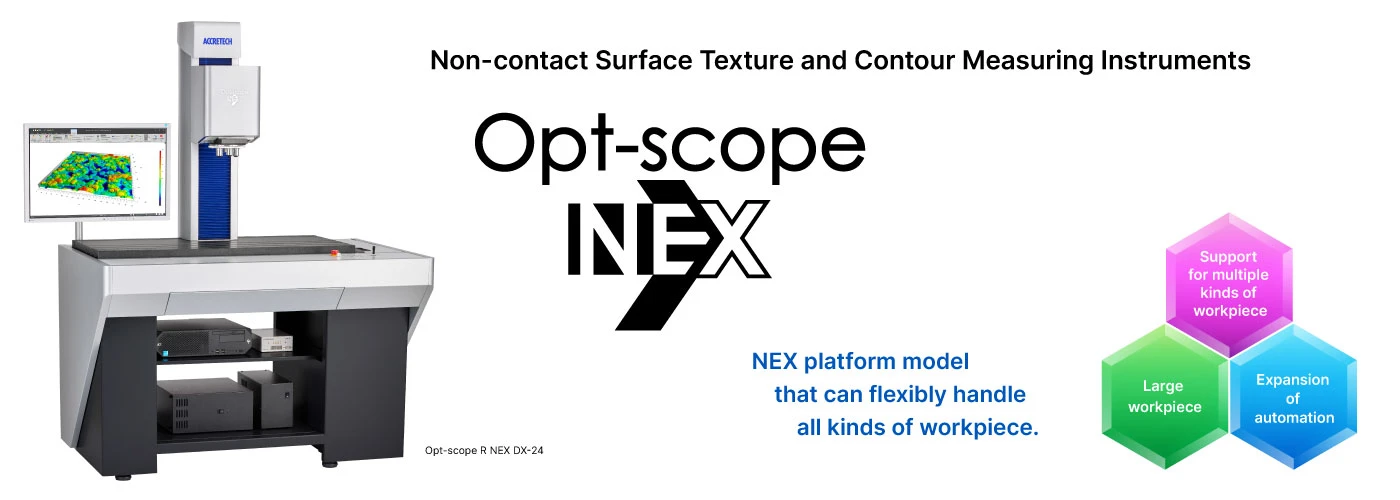
All-in-one floor installation DX type
Desktop SD type
The new model can handle multiple kinds of workpiece by using various tools in combination
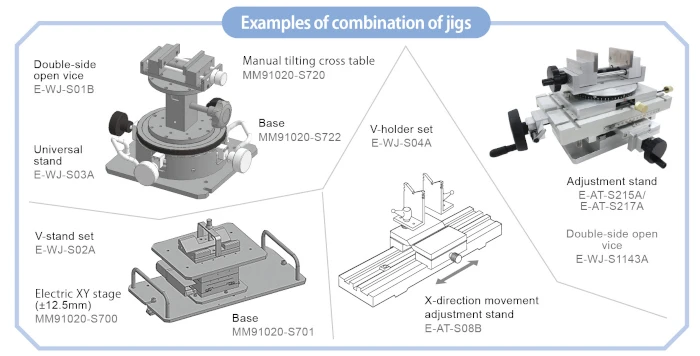
Tokyo Seimitsu has addressed diverse needs for workpiece measurement in the past. Building on the experience gained from those efforts, we propose a combination of the workpiece holding fixture and the alignment tool that matches your need.
A large workpiece can be measured without being cut
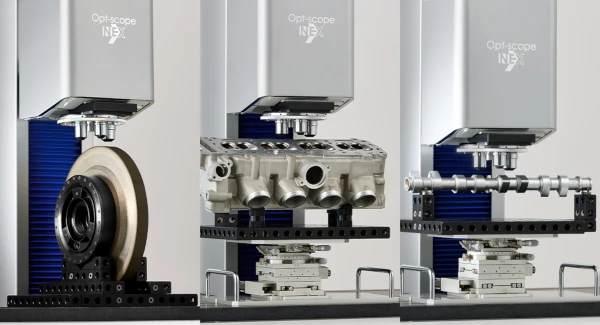
The new model enables the installation and measurement of a large workpiece, which is impossible with the existing model.
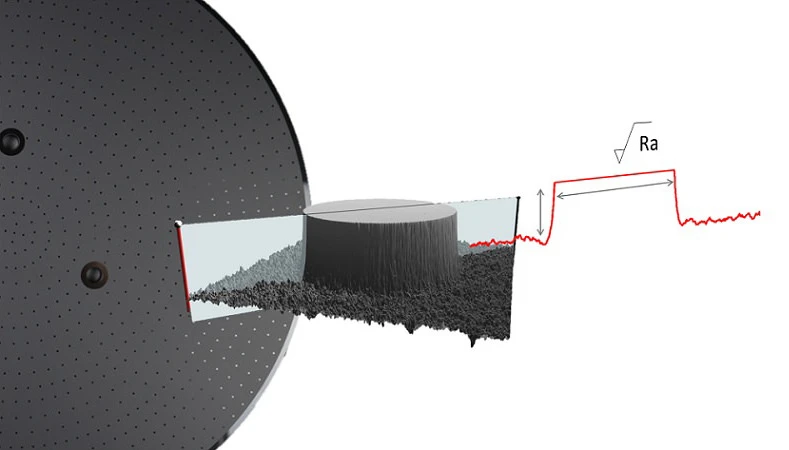
For example, a 300-mm-across grindstone can be measured while the grindstone is upright, and a box-shaped workpiece like a cylinder head or a long workpiece like a camshaft can be set on the measuring table without being cut. This reduces the person-hours spent on preparing cut workpieces, thus contributing to labor saving.
Maximum loading capacity: 96 kg
High-level expandability to realize automation and labor saving
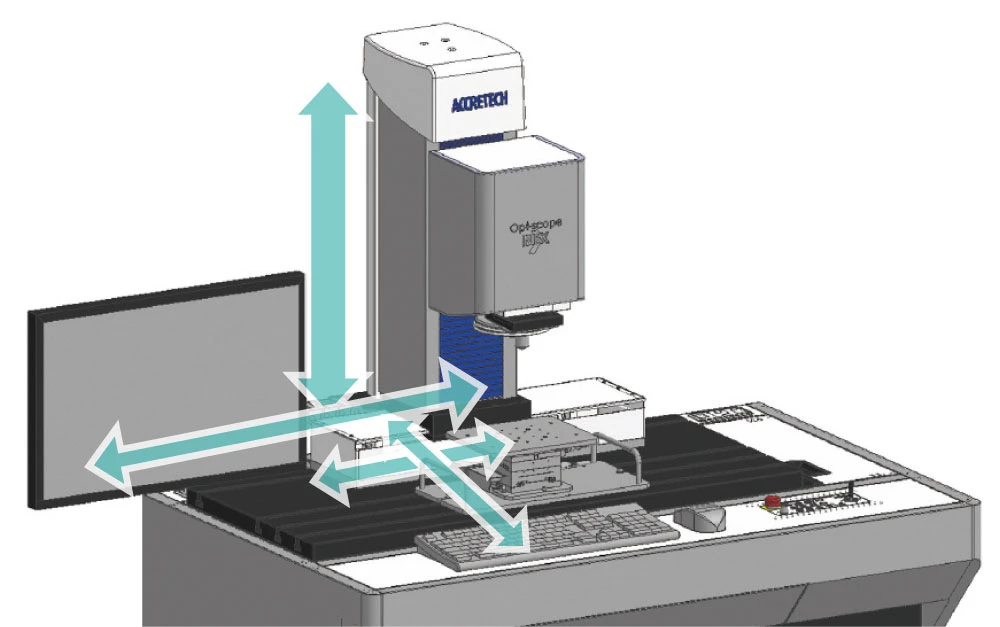
This is a platform system with high-level expandability that can realize automation and labor-savings through various kinds of approaches in response to selectable base-column sizes, up-and-down motion stroke on a wide measurement part, electric left-and-right feed of a column, and XY electric stage.
High correlation with stylus type
Tokyo Seimitsu has been selling stylus type surface roughness measuring machines for many years as a market leader, and Opt-scope has a correlation with the stylus type measurement results.
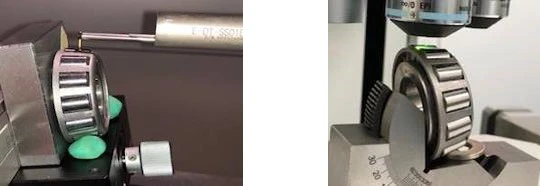
Compliant with ISO 25178-2 and JIS B 0681-2 3D Surface Texture Parameters
As a long-time member of ISO/TC213, Tokyo Seimitsu has been involved in the dissemination and promotion of 3D surface texture measurement.
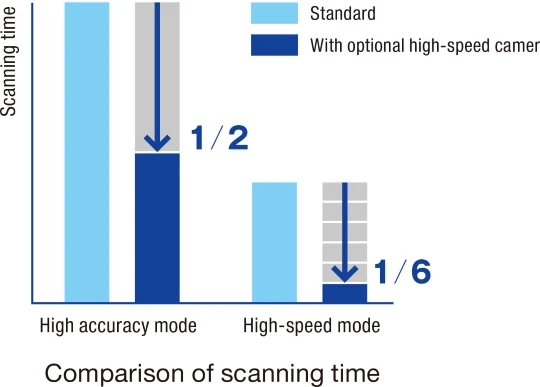
Scanning speed increased by 6 times with the Optional high-speed camera
Two mode options according to accuracy requirement, making the high-speed mode achieve even a higher speed.
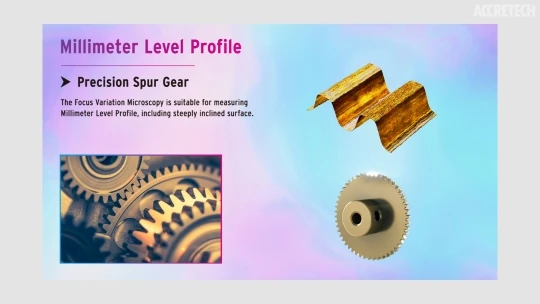
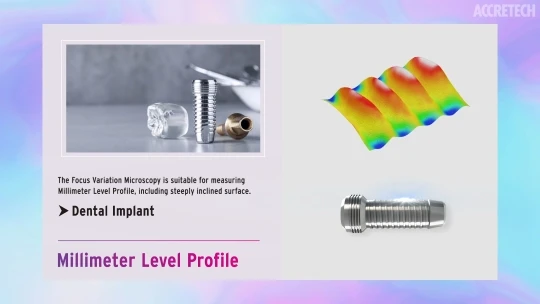
Focus variation measurement function enables high-speed millimeter shape measurement.
The focus variation measuring function is based on the focus variation microscopy, a measurement method specified in ISO 25178-606 (an international standard for 3-dimensional surface texture), enabling the measurement of millimeter-order contour, including slopes of high angles, which was difficult to perform with the white light interferometry. With the addition of this new focus variation measuring function, together with the conventional white-light interferometry, Opt-scope can now meet an even wider variety of measurement needs.
Film thickness analysis with transparent multilayer film measurement function
For multilayer film can be stacked up to 6 transparent layers of 1.5 μm or more in optical length (7 interfaces). The function is able to analyze the surface texture of the topmost surface, film thickness of each layer and film thickness distribution.

Evaluation and Analysis
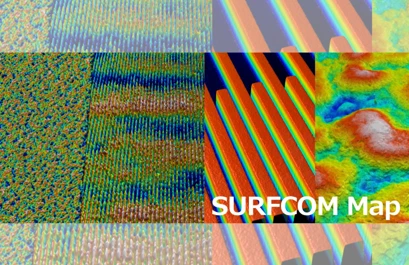
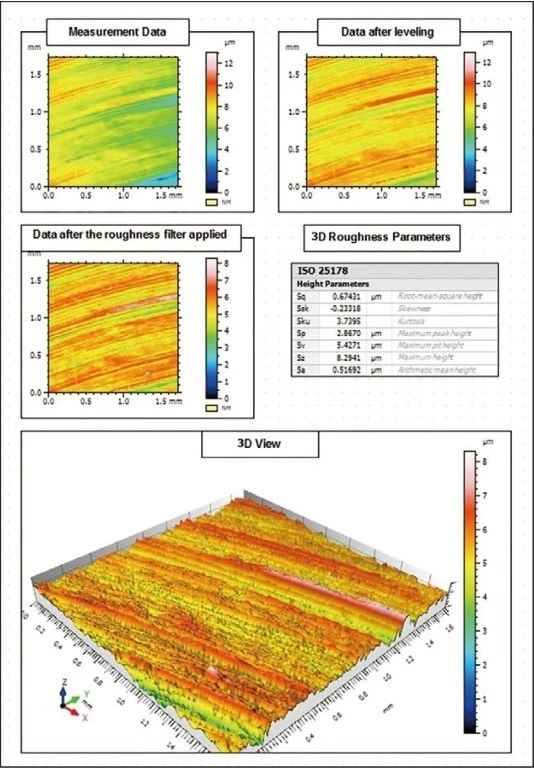
3D roughness analysis
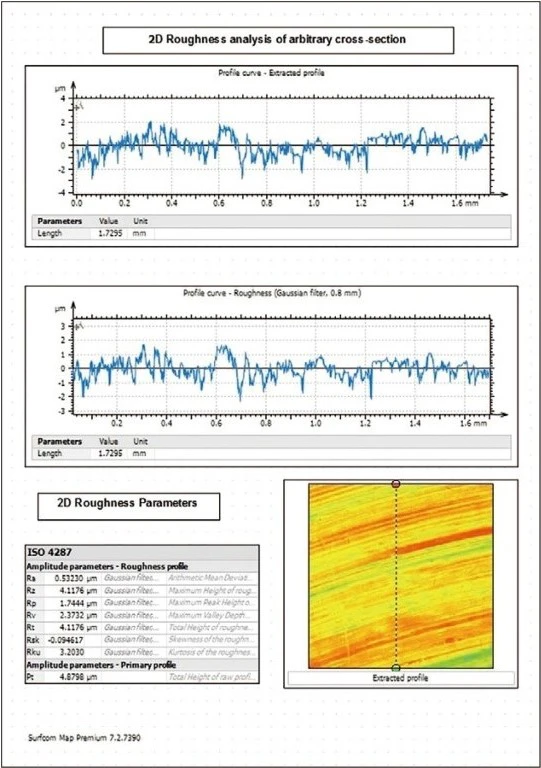
2D roughness analysis of a cross-section
Fine form analysis
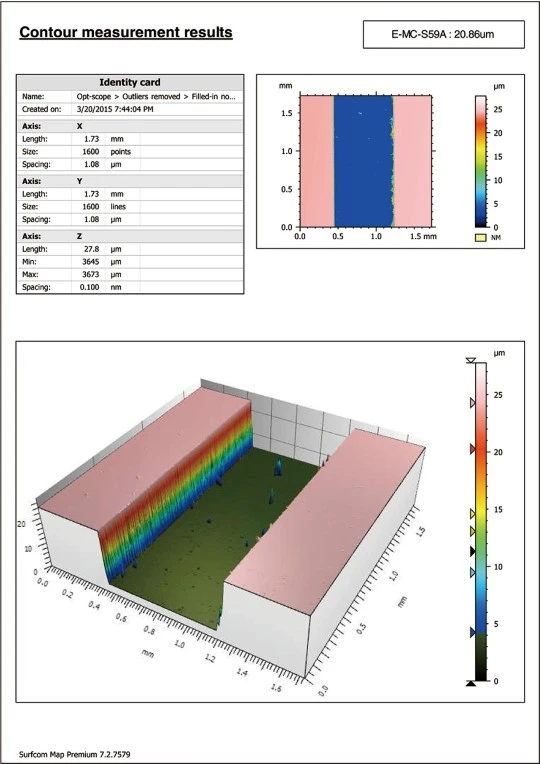
Contour/Advanced contour analysis
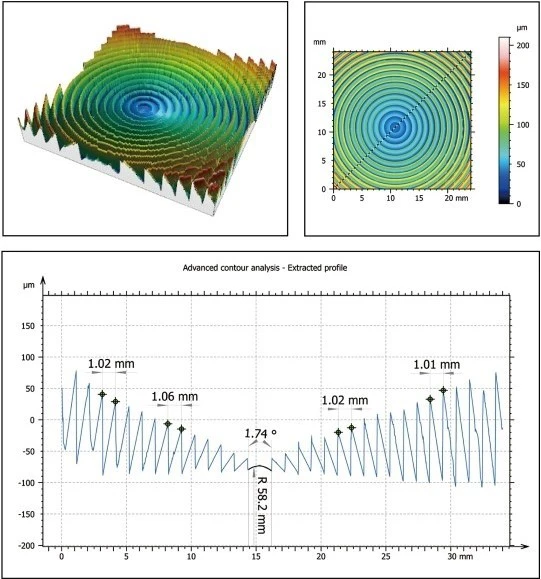
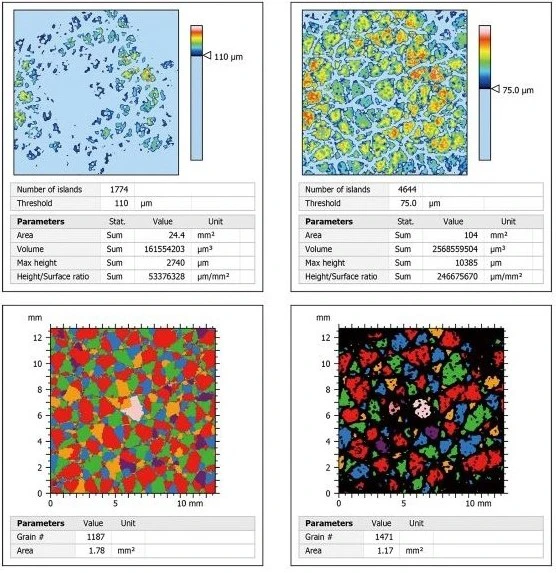
Grain analysis (Grain & Particle)
